

Accept payments from your KinerkTube pages & events
Accept Stripe Payments from your KinerkTube page's Merch tab and/or your events Merch tab.
Making money online can be easier than ever these days with the growing list of platforms and tools allowing creators to translate their growing communities into a sustainable income.
Creator monetization tools exist for every niche, whether it's selling physical goods, digital content, services, or even taking donations. They are all essentially offering a simpler way to start accepting payments online directly from your audience.
While some platforms only charge a monthly fee, many take an additional fixed percentage of every transaction. This fee can range from 1%-10% on top of the standard payment processing fee of 2.9% + 30¢ per transaction.
Now you can sell online without paying additional platform fees.
With the newly introduced Payment Links from Stripe, there is now a much simpler way to start selling online without paying additional platform fees. You can use this service to easily create checkout links for almost any type of business model, and then easily share them all in one place on your KinerkTube page's Merch tab, Other Links section, and all-around KinerkTube social.
KinerkTube Image showing Stripe links
By adding Payment Links to your page or event, or in this case your page's Merch tab, you have effectively turned it into a high converting landing page for your audience. Each tab or sub-tab can be shared as an individual link to focus on your merch for this example or in another example your music like your Spotify tab via your page. So as far as merch (physical or digital products) you can add thumbnails for the products you're selling, organize them into sections, and highlight your top-selling or featured items.
What can I sell from my KinerkTube page and event pages?
Physical Products
Stickers, merchandise, artwork, clothing, and more. To sell physical goods make sure you check the setting to collect the customer's shipping address at checkout. Also note that automatic tax collection is not yet supported by Payment Links, but should be coming soon as you will notice the feature to add taxes to your Stripe product checkout page.
Digital Products
E-books, PDFs, videos, music, courses, and more. To sell digital products you will need to set up a delivery method with a tool like Zapier.
Subscriptions & Memberships
Classes, content, services, exclusive perks, and more. Subscriptions or memberships are great for creating stable recurring income for your online or in-person work.
Tips & Donations
This is a great option to keep things simple. These can be one-time or recurring, without needing to worry about delivering physical or digital products.
Steps for setting up Payment Links
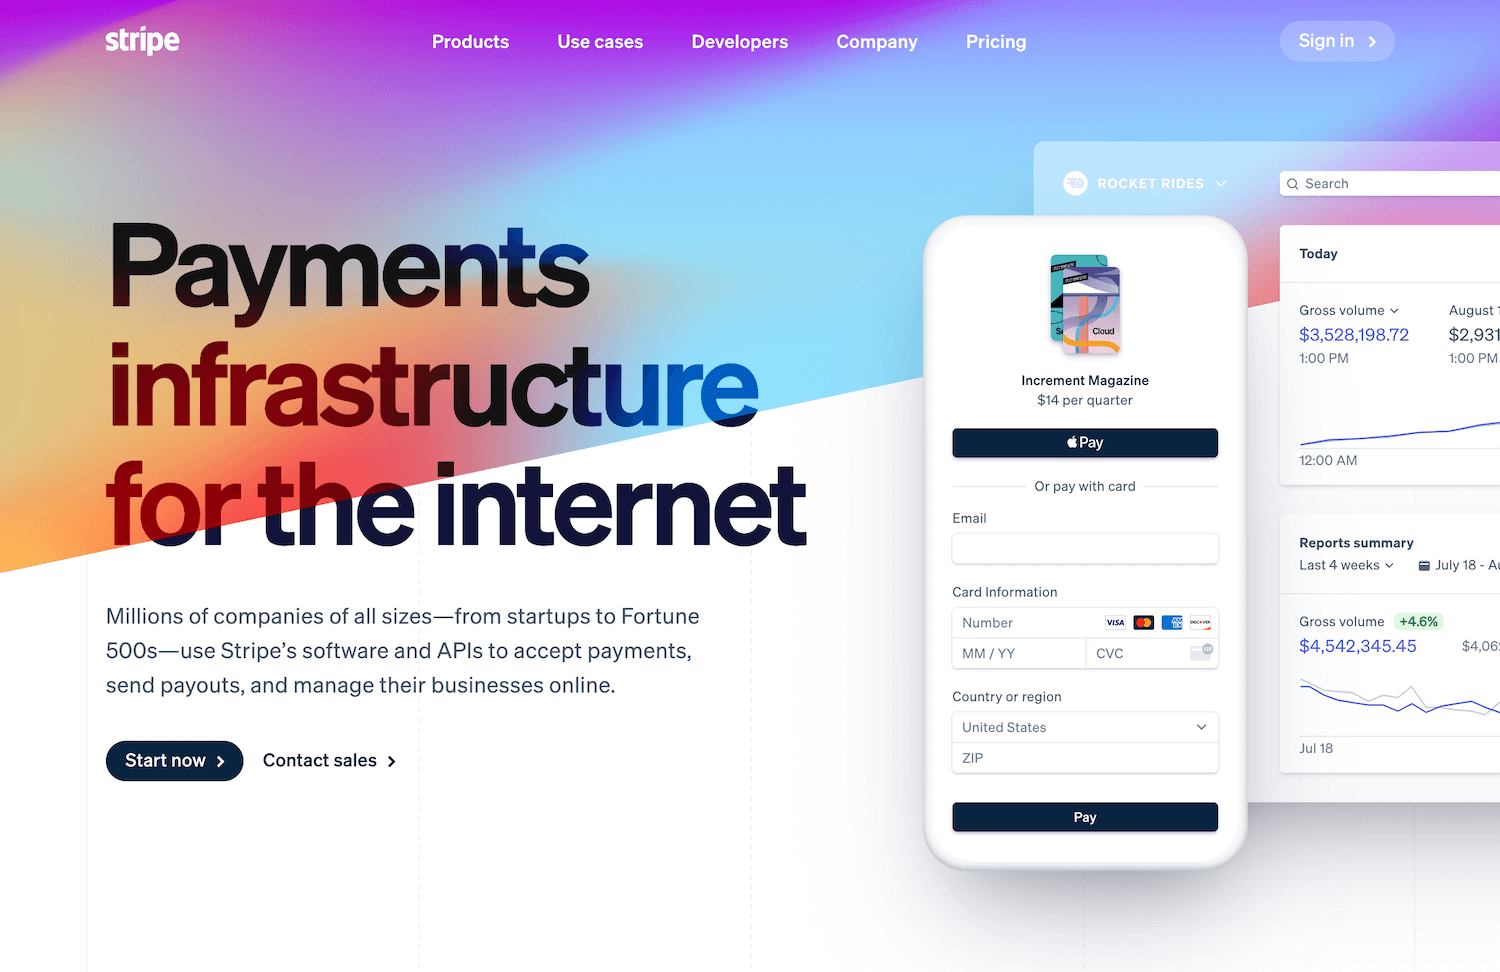
1. Sign up for a free Stripe account
Sign up at stripe.com by clicking Start now, it typically takes around 15 minutes.
2. Add a product
From the dashboard, select the Products tab and click the "Add Product" button. From here you can start by adding a name, description, and image for your product in the top section. Once this is complete, you'll need to set up how you will charge for this product.
Most users should use the Standard pricing model, but you can see additional information about the other models by hovering over the information icon. Once you set a price you can choose if you would like this price to be charged once or on a recurring basis. If you choose recurring, you will also need to choose how often your users are charged by setting the billing period.
If you're setting up a product with multiple tiers or different billing periods such as plan levels, donation amounts, or discounted annual billing, you will need to create multiple payment links to cover each scenario.

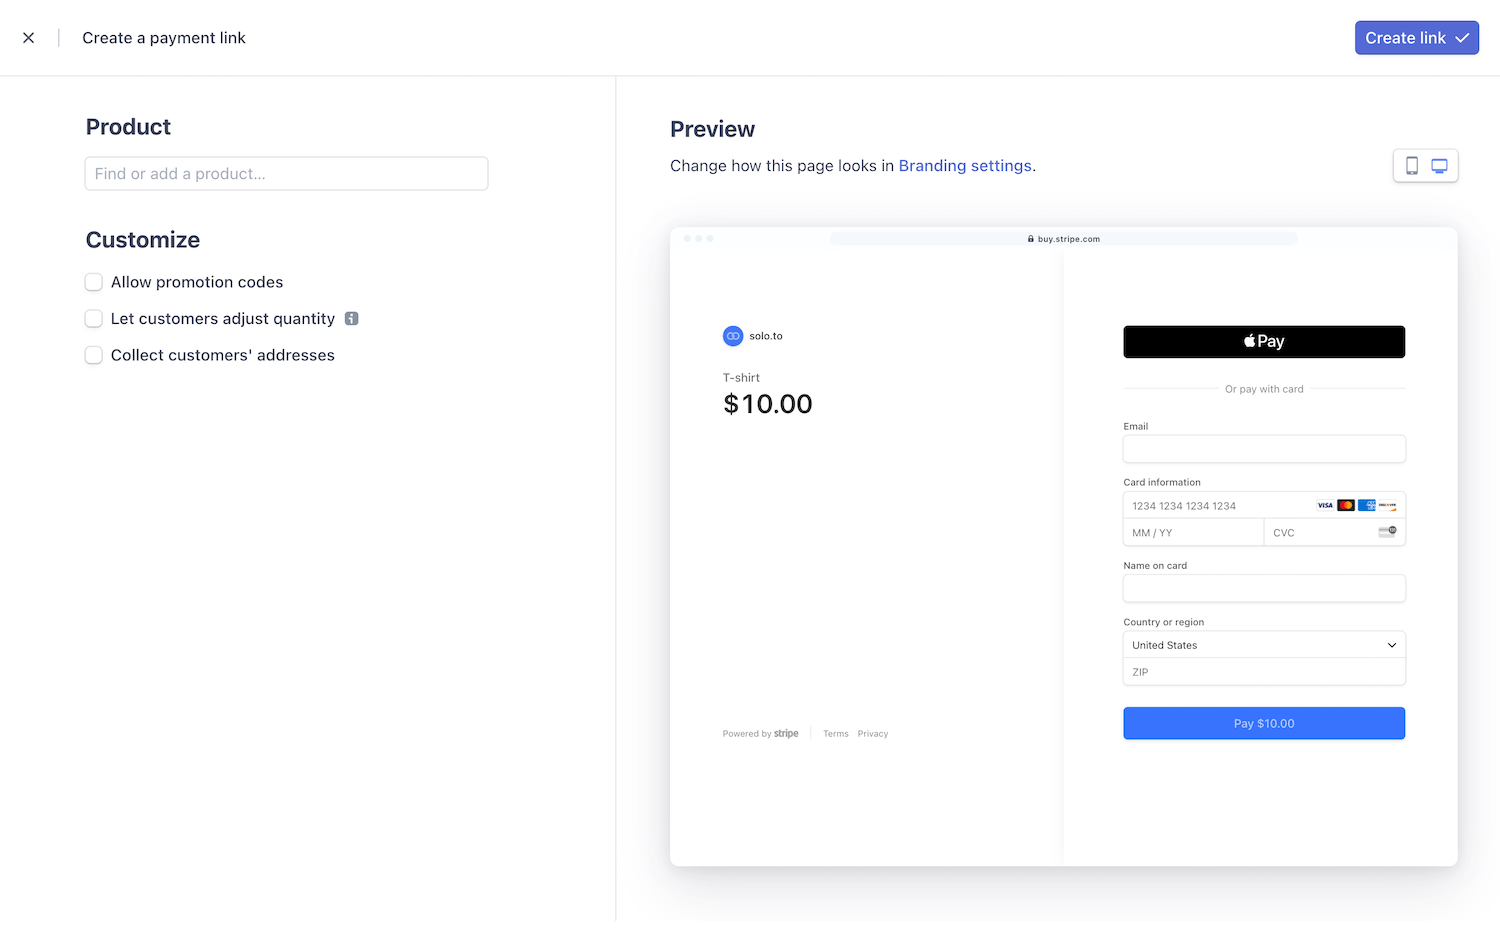
3. Create a payment link
Under the Products tab in the dashboard select the payment links tab and click the "New" button. From here you will need to choose the product you want to make a payment link for. You can also customize the checkout page by allowing promo codes, quantity adjustments, or address collection.
Once you choose the right options for your product click the "Create link" button to finish. This will take you back to the payment links page where you can find and copy all your links.
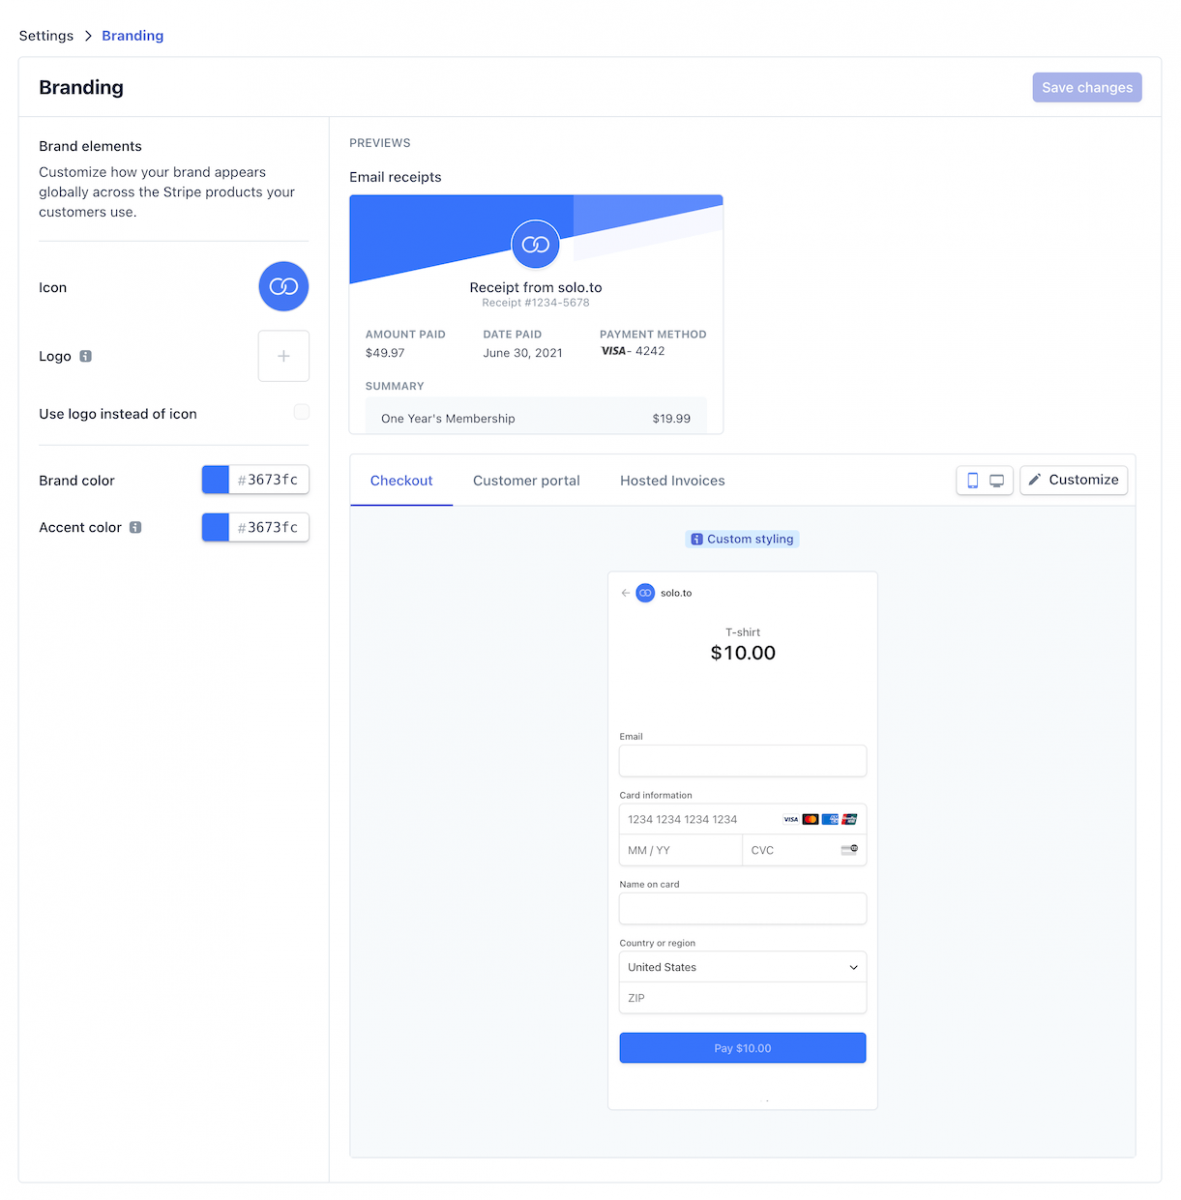
4. Adjust your branding
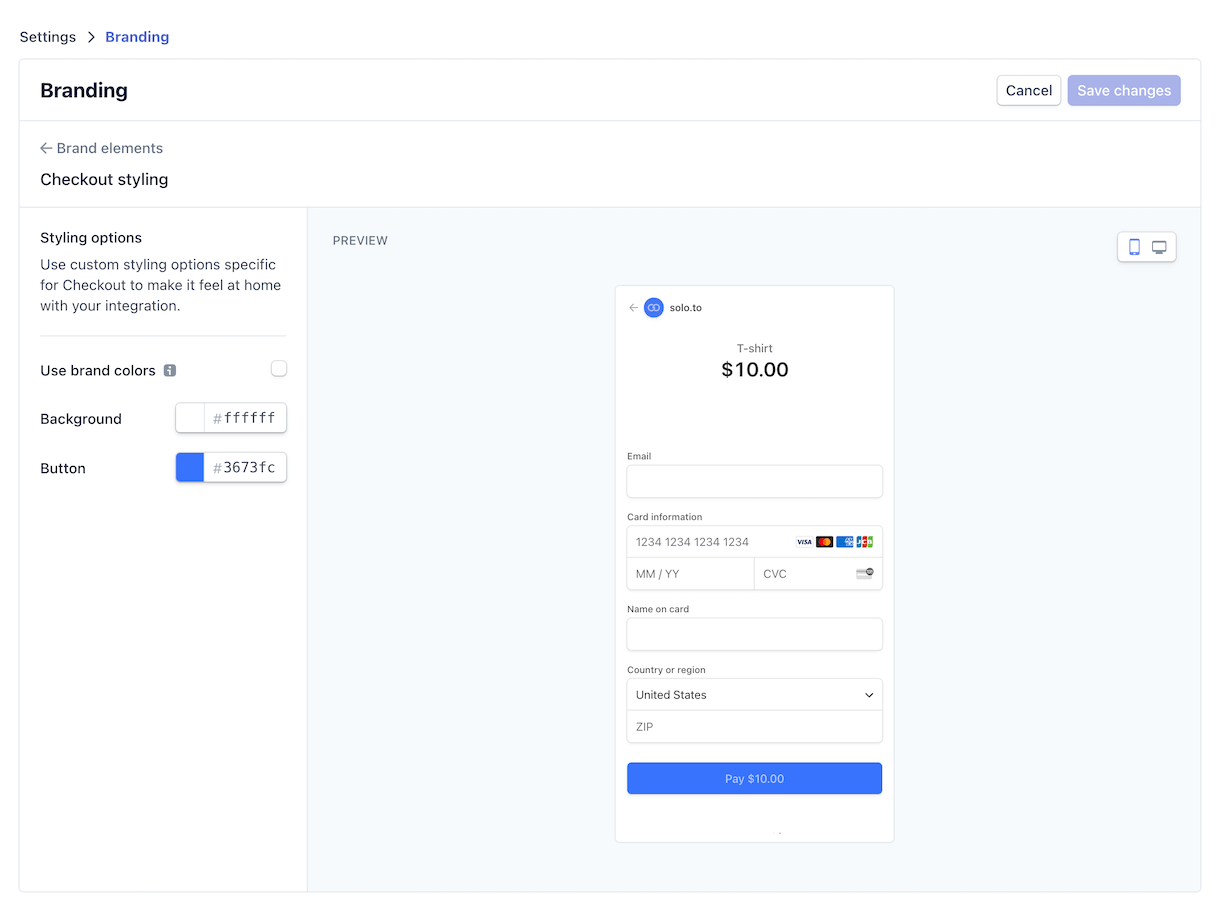
The last step before sharing your links is to customize your checkout to match your branding. You can find the branding page under the settings tab in the dashboard. From here you can set a logo, icon, and brand colors. To make sure these colors carry over to your checkout, click the "Customize" button on this page and select use brand colors on the subsequent page (shown below).
5. Share the link
Now that you have your first payment link set up, share it on your KinerkTube page under your merch tab, including your featured content, other links, and around KinerkTube IC (instant chatting) and social... or anywhere else to start collecting payments, subscriptions, donations, and more. As your revenue grows, you can easily manage everything from the Stripe dashboard and if you need additional functionality you can expand your links capabilities with Zapier.